
Not a safety check
The pictures on this page show a look, not a safe installation. The AI does not know the height of the equipment, the depth of the surfacing or the distance to your fence, and it does not follow any safety standard. Follow the maker's instructions for any play set, and use the CPSC handbook named below for layout and surfacing.
Swing sets, slides and forts
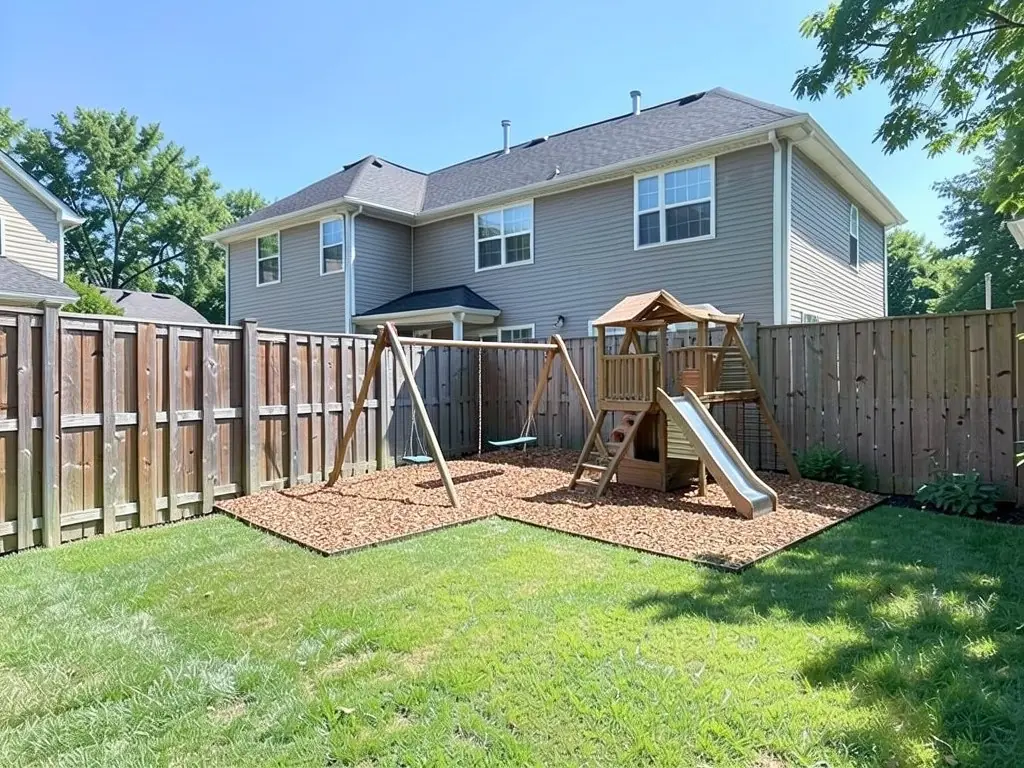
A swing set is the classic start. Yardzen and HomeYou both suggest swings with a slide and something to climb, and Lawn Love notes that younger children get more years out of a swing set, so size it to your space. A fort or tower with a slide adds climbing and lookout play.
The U.S. Consumer Product Safety Commission (CPSC) Outdoor Home Playground Safety Handbook suggests a level site away from roads and driveways, readily visible from inside the home and the patio, and play equipment at least 6 feet from a house, fence, shed, tree or pole. It says a slide should not exit in front of a swing. In our first example the slide stands at the front of the swing frame, close to where the swings move, so check this in any layout the AI draws.
What goes under the equipment
The CPSC handbook says not to put home play equipment over concrete, asphalt or other hard surfaces, and that grass and dirt do not count as protective surfacing. It suggests at least 9 inches of loose fill, such as wood mulch or chips, engineered wood fiber or shredded rubber mulch, for equipment up to 8 feet high, and 9 inches of sand or pea gravel for equipment up to 5 feet high. It notes that an initial fill of 12 inches compresses to about 9 inches over time.
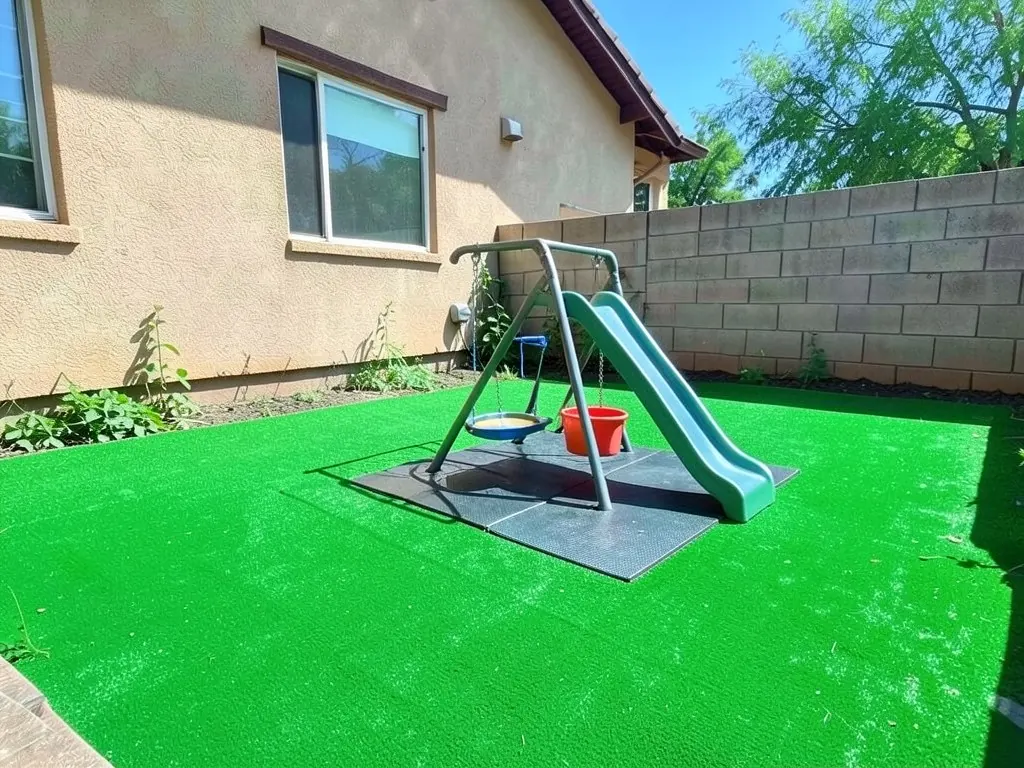
The handbook says surfacing should extend at least 6 feet from the equipment in all directions, and in front of and behind a to-fro swing to twice the height of the top bar. It says carpeting and thin mats are generally not adequate, and that rubber tiles or poured surfaces usually need a professional and a test report to ASTM F1292 for your fall height. The mats in our third example look thin and stop close to the frame, so do not copy them as drawn.
- Wood chips or mulch: Our first example uses a bed of wood chip mulch. The handbook suggests edging or digging out the perimeter to hold loose fill in, and allowing for drainage.
- Rubber tiles: Ask the maker for an ASTM F1292 test report showing a height equal to or greater than your equipment's fall height.
- Artificial turf: VersaCourt, which sells turf, promotes artificial grass for play areas. The CPSC handbook does not list turf as a surfacing type, so check what is under it.
Sandboxes and play houses
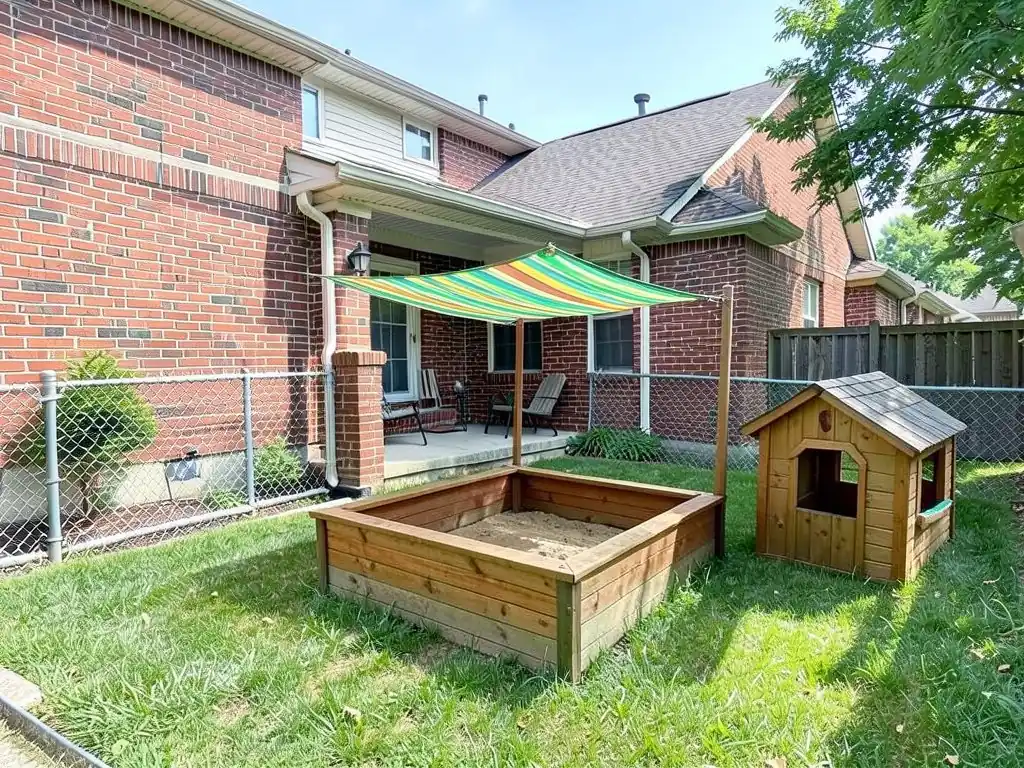
A sandbox and a play house suit small children and small yards. HomeYou suggests a wooden frame of play sand with a cover to keep out debris and animals, Lawn Love suggests a folding cover that doubles as bench seats, and Yardzen suggests a canopy or umbrella for shade, as in our second example's shade sail.
The CPSC handbook says ground-level equipment such as a sandbox or a playhouse with no raised play surface does not need protective surfacing, and suggests placing sandboxes away from swings or separating them with a barrier.
Planning the play area
Lawn Love advises trusted adult supervision whenever children play outside, and the CPSC handbook says close supervision is essential for toddler swings. HomeYou suggests planning drainage for any water play so the area does not turn muddy or slippery. Yardzen and Lawn Love also suggest treehouses, obstacle courses, water tables and mud kitchens for more variety. For shade over a play area, see our shade sail ideas page.
How to try a backyard playground idea on your own photo
The tool above is already in Custom mode. The Yard Redesign styles have no text box, so you cannot ask for a swing set, a sandbox or a bed of wood chips there. Custom lets you name the change, the equipment, where it goes and what must stay the same.
- Take the photo in daylight from the back door or a corner of the yard, with the area for the play space in frame.
- Describe the change in the Custom Design Requirements box: what may change (the lawn, the dirt), what equipment and surfacing to add, where it goes, and what must stay the same, such as the house, the fence, the patio and the camera angle.
- Upload your photo under Upload Your Garden Image and click Generate Custom Design. You sign in with an email code or Google when you generate.
- Compare the result with your photo. If the slide stands on its own or the play house looks like a dog house, say exactly how the pieces join and what each one is, and try again.
What the AI can and cannot do
The AI shows a look: roughly how a swing set, a sandbox or a play house would sit in your own yard. That helps you choose a spot and a size before you buy.
It does not measure the yard, check the distance to your fence, judge surfacing depth or test anything for safety. It also does not always follow the instruction: in the examples above it drew a play house that looks like a dog house, a swing frame with little to climb and an extra swing we did not ask for; on the first tries it also drew a slide joined to nothing and mats that stopped short of the swings. Treat the result as a picture of an idea, not a plan.
Backyard playground instructions to paste into Custom mode
These are the exact instructions we used for the three examples above, in the same order. In the tool above, Custom is already selected: paste one into the Custom Design Requirements box, then upload your photo. Swap in your own equipment, positions and what must stay.
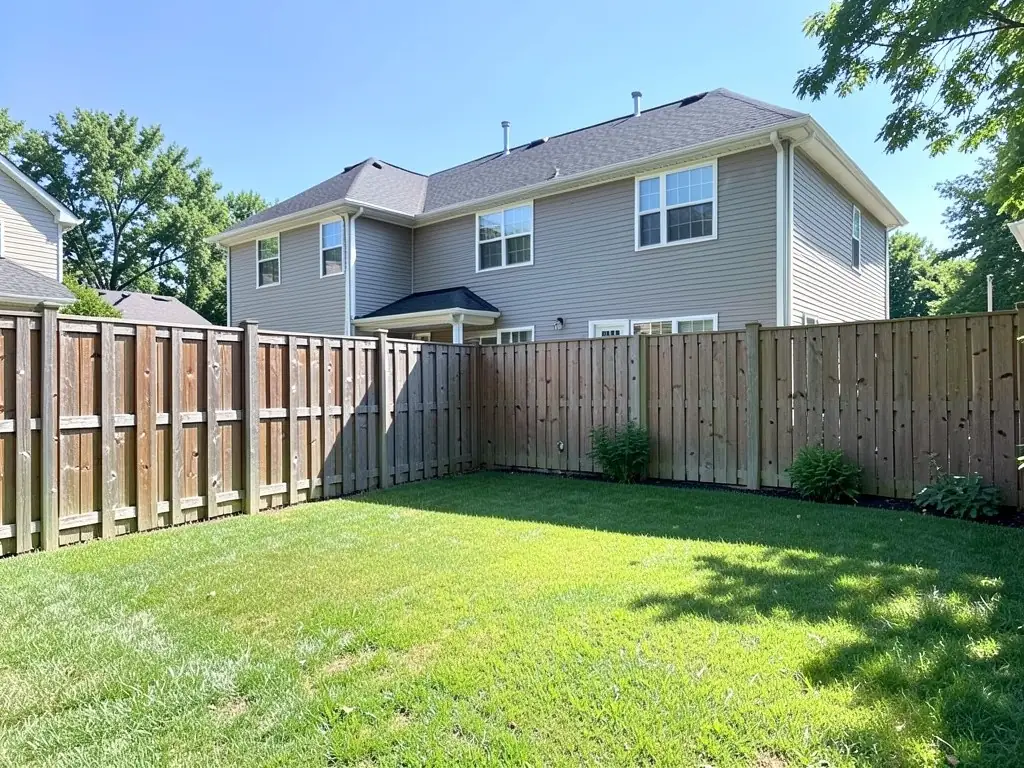
- Add ONLY a wooden swing set with two swings and a small climbing fort in the back corner of the lawn, with a slide attached to the fort, all standing on a rectangle of wood chip mulch just under the play set. Keep the rest of the lawn as grass. Keep the house, the fence and the camera angle exactly the same.
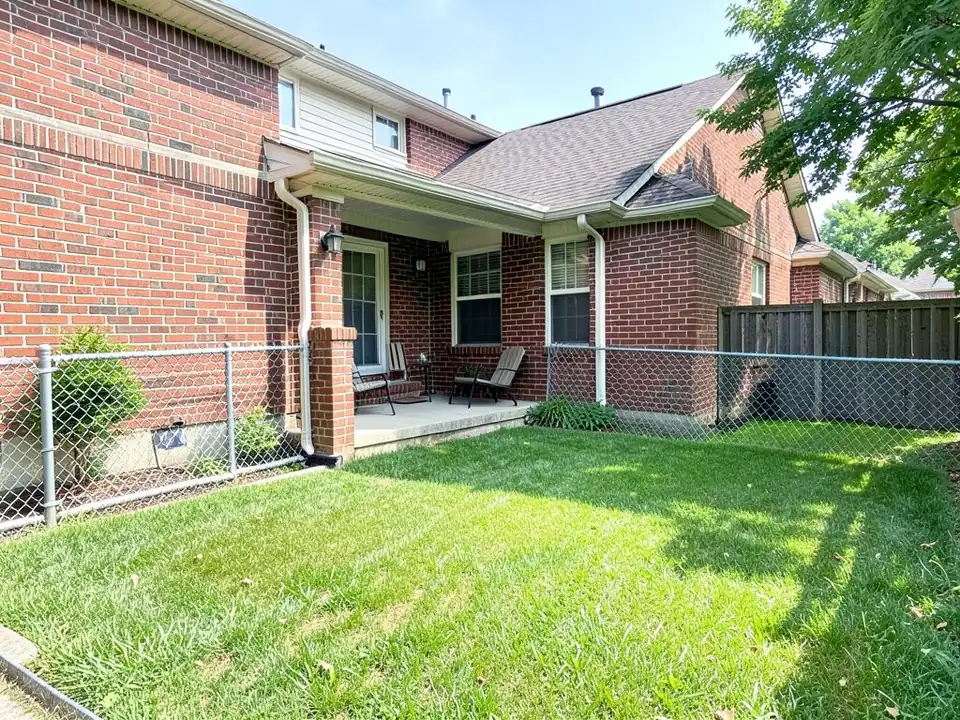
- Add ONLY a square wooden sandbox with a striped shade sail above it and a small play house beside it on the lawn. Keep the house, the patio, the fence and the camera angle exactly the same.
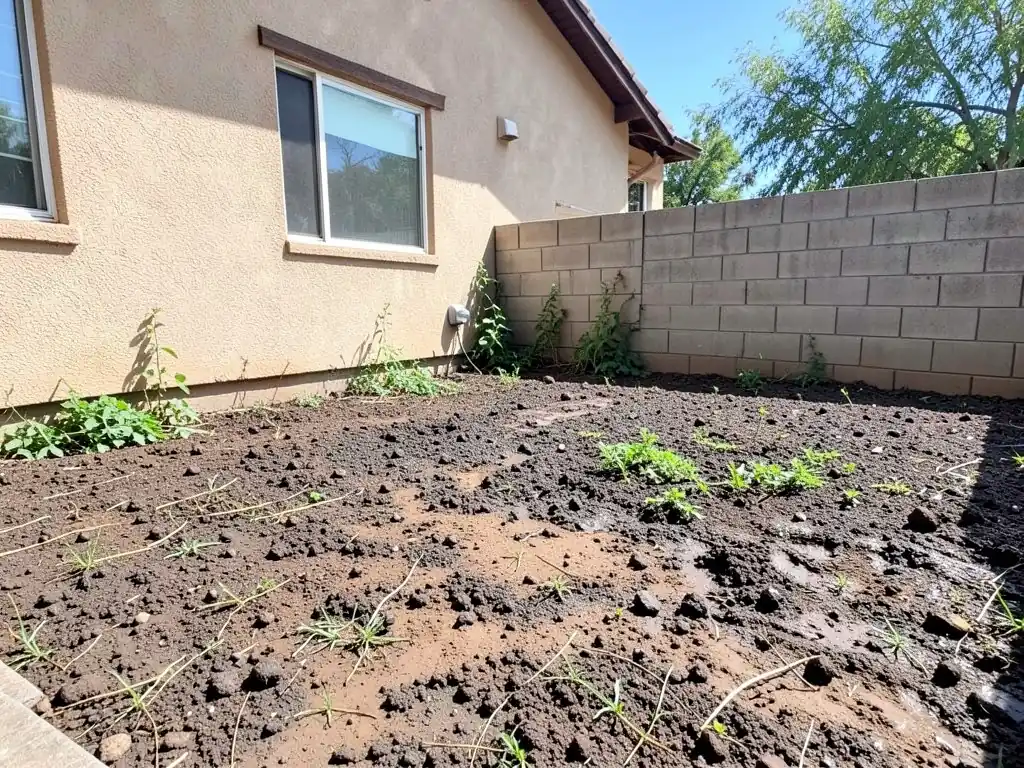
- Replace ONLY the bare dirt with bright green artificial turf, and add a climbing frame with a slide and a toddler bucket swing standing on rubber play mats in the middle of the turf. Keep the house, the window, the block wall and the camera angle exactly the same.
Frequently asked questions
What should go under a backyard swing set?
The CPSC Outdoor Home Playground Safety Handbook says not grass, dirt, concrete or asphalt. It suggests at least 9 inches of loose fill such as wood chips, mulch, engineered wood fiber or shredded rubber, or tested rubber surfacing, depending on equipment height.
How far should surfacing extend around play equipment?
The CPSC handbook says at least 6 feet in all directions, and for to-fro swings, in front and behind to twice the height of the top bar.
How far from the fence should a swing set be?
The CPSC handbook suggests at least 6 feet from any structure or obstacle such as a house, fence, shed, tree or pole, with more room in front of and behind swings.
Does a sandbox need special surfacing?
The CPSC handbook says ground-level equipment such as a sandbox or a playhouse with no raised play surface does not need protective surfacing. It suggests placing sandboxes away from swings.
Are rubber play mats enough under a swing set?
The CPSC handbook says thin mats are generally not adequate. For rubber tiles it suggests asking for an ASTM F1292 test report for your equipment's fall height.
Can the AI tell me if my play area is safe?
No. It draws the look you describe on your photo. It does not measure distances, surfacing depth or fall height, and it does not always follow the instruction, as the captions above show.
Do I need an account, and is it free?
Create a free account with an email code or Google to generate. You get 1 free render, and free renders carry a watermark. More renders and no watermark come with a paid plan.