Garden Path Ideas: Materials, Width and Edging, Shown on Your Own Yard

A garden path does two jobs: it gets you from one place to another without wearing a track in the lawn, and it shapes how the garden looks. The surface you pick decides the style, the cost and how much upkeep it needs, and the width and edging decide how well it works day to day.

More renders come with a paid plan (see pricing).

Upload a photo of your yard, say what path you want and where it runs, and our AI returns the same view with that path drawn in. Below are the main path materials compared, plain guidance on width, edging and drainage, and four before and after examples with the exact instructions we gave and what the AI drew.

Garden path materials compared

MaterialStyle and costWhat to know
Gravel (pea gravel, crushed stone)One of the cheaper options; many colors and texturesNeeds edging so it stays put, regular weeding and an occasional top-up; not for steep slopes where rain can wash it downhill
BrickClassic and timeless; reclaimed brick looks more relaxed and rusticCosts less than pavers but has fewer styles; set it on a level, compacted base
PaversCost more than brick, with a much wider range of stylesA good match for a patio or house you want the path to echo
Natural flagstoneAmong the most expensive options; prefab concrete stones cost much lessIrregular shapes give a natural look but take more laying work
Stepping stonesInformal and organic; a weekend job for a beginnerSet them level on sand or gravel and deep enough not to trip you or catch a mower; see the stepping stone page
Bark or wood chipSoft, natural and low costNeeds edging and topping up as it breaks down
Mown grassThe simplest path; can be edged with bricksWears into a track in wet weather or heavy use
Mixed materialsPavers set in gravel, stepping stones in bark, or brick with pebblesCombine a firm walking surface with a softer fill

These are the path surfaces that come up most often in the guides ranking for this search. The table says what each one looks like and costs relative to the others, and the main thing to know before you choose it.

How wide should a garden path be?

The guides agree on the principle more than on a single number: let the use and the size of the garden set the width. A path you walk alone can be narrow, but one you push a wheelbarrow along, or walk along side by side, needs more room.

  • Planting beside it: The taller the grass and flowers on either side, the wider the path should be, because plants spill over the edges.
  • Traffic: Think about the widest thing that will travel the path, such as a wheelbarrow, a mower or a pushchair.
  • Accessibility: If anyone uses a wheelchair or a walker, make at least the main path smooth, level and wide enough for it.
  • Scale: A wide path in a small yard takes over the lawn. Lay a hose where it will go and walk it before you commit.
Garden path ideas before and after

In each pair, the left image was generated by AI as a stand-in for an ordinary yard, and the right image is that same picture edited by AI from a written instruction. The exact instructions are listed lower on this page. None of them are photos of real customer homes.

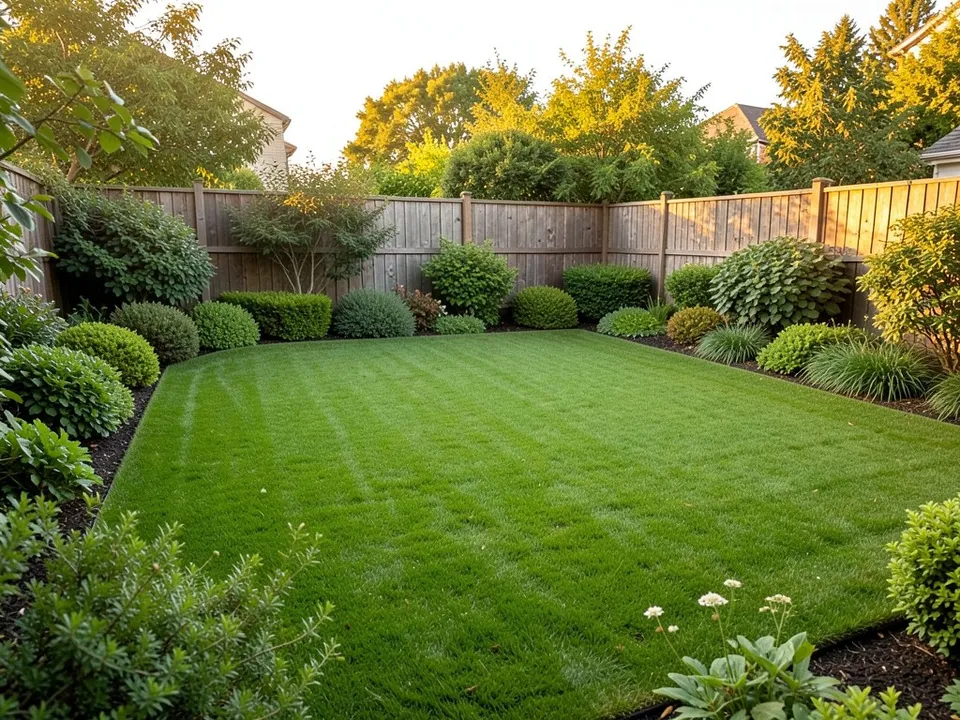
AI-generated example: a wide backyard of plain mown lawn in golden evening light, with shrub borders on both sides, a wooden fence at the back and trees behind it

Before

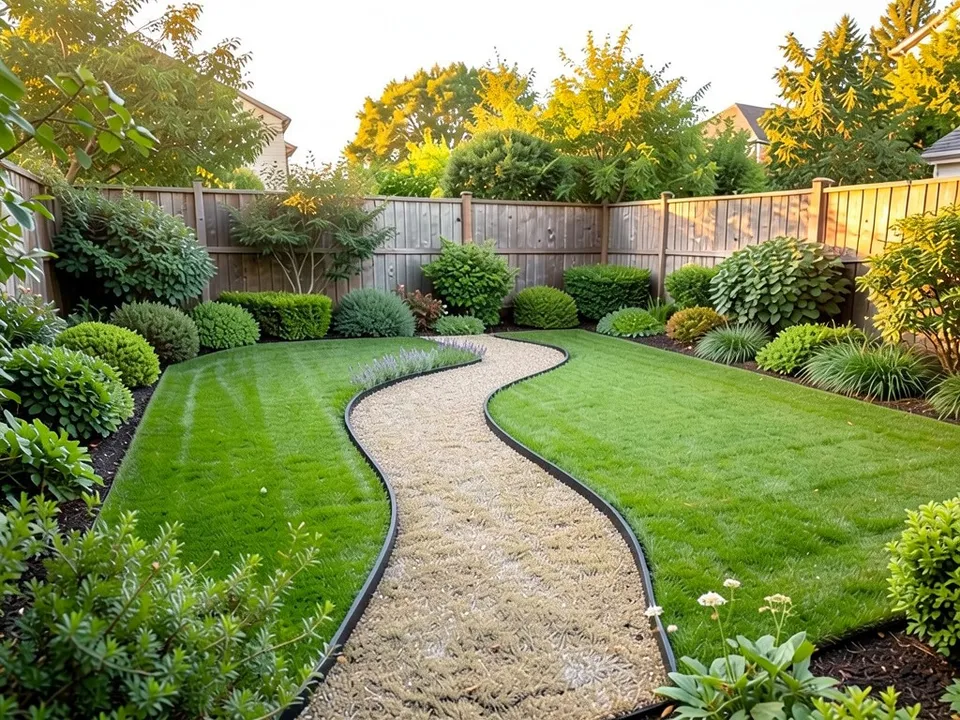
AI-edited version of the same image: a pale gravel path with a crisp dark metal edge curving in an S shape across the lawn from the foreground toward the back border; the lawn, shrubs, fence and light unchanged

After

A gravel path with metal edging (first instruction below). The before image is an AI-drawn stand-in for a plain lawn, not a customer photo. What followed the instruction: a pale gravel path with crisp dark edging now sweeps across the lawn in a graceful curve toward the back border, and the lawn, shrubs, fence and evening light did not change. It is a picture of the idea, so lay a hose where the path will go and check the width on your real grass.
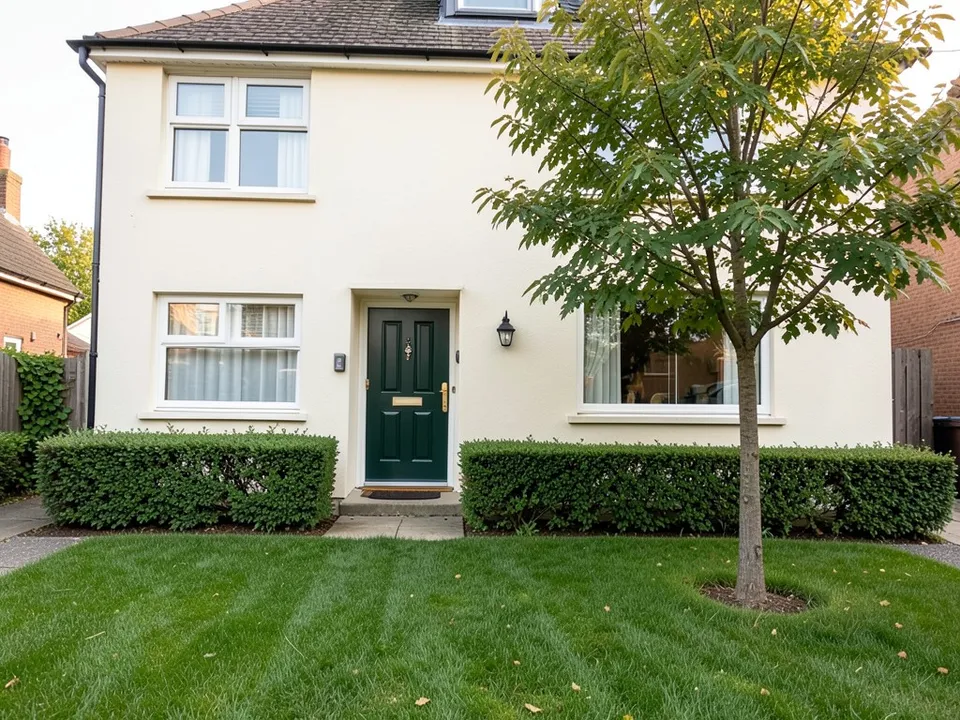
AI-generated example: the front of a cream house with a dark green door, a tree in the lawn and clipped hedges on either side of the doorstep

Before

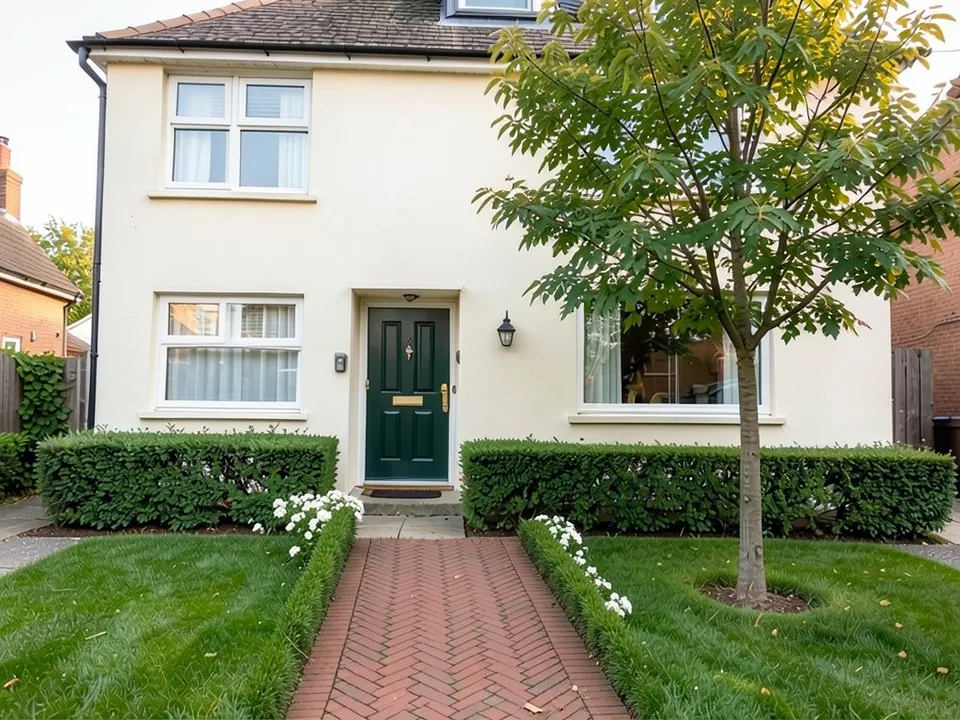
AI-edited version of the same image: a red brick path laid in a herringbone pattern running straight from the foreground to the front door between the hedges, with white flowers at its edge; the house, door, lawn and tree unchanged

After

A brick path to the front door (second instruction below). The before image is an AI-drawn stand-in for a plain front lawn, not a customer photo. What followed the instruction: a red herringbone brick path now leads straight to the door, framed by the hedges and a few white flowers, and the house, door, lawn and tree did not change. A real brick path still needs a level, compacted base, which a picture cannot show.
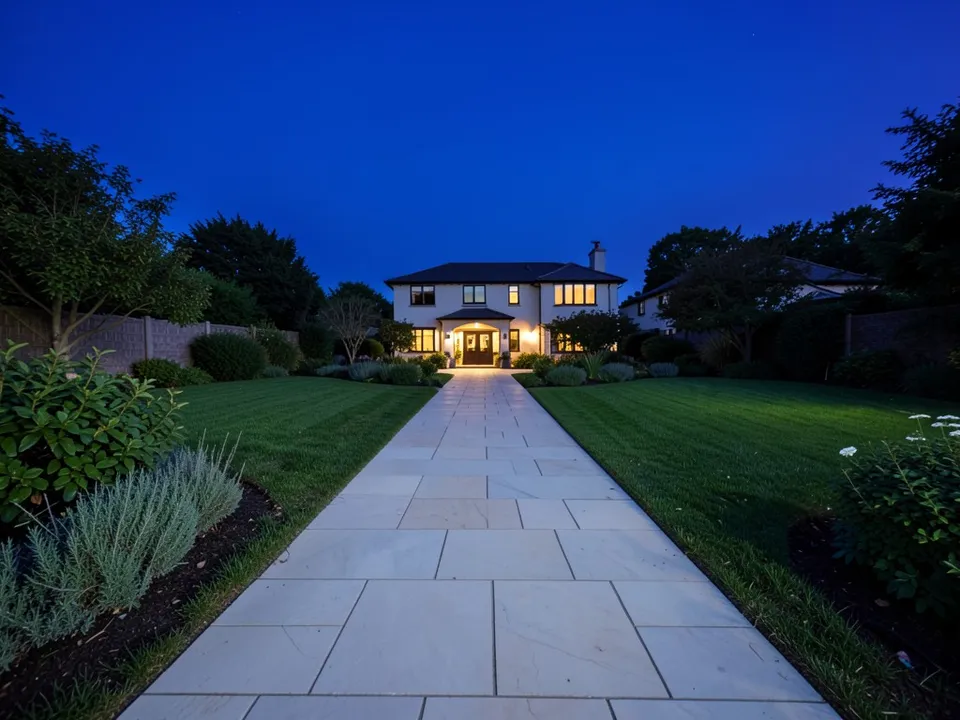
AI-generated example: a wide stone-paved path leading across lawns to a house with lit windows at dusk, under a deep blue sky

Before

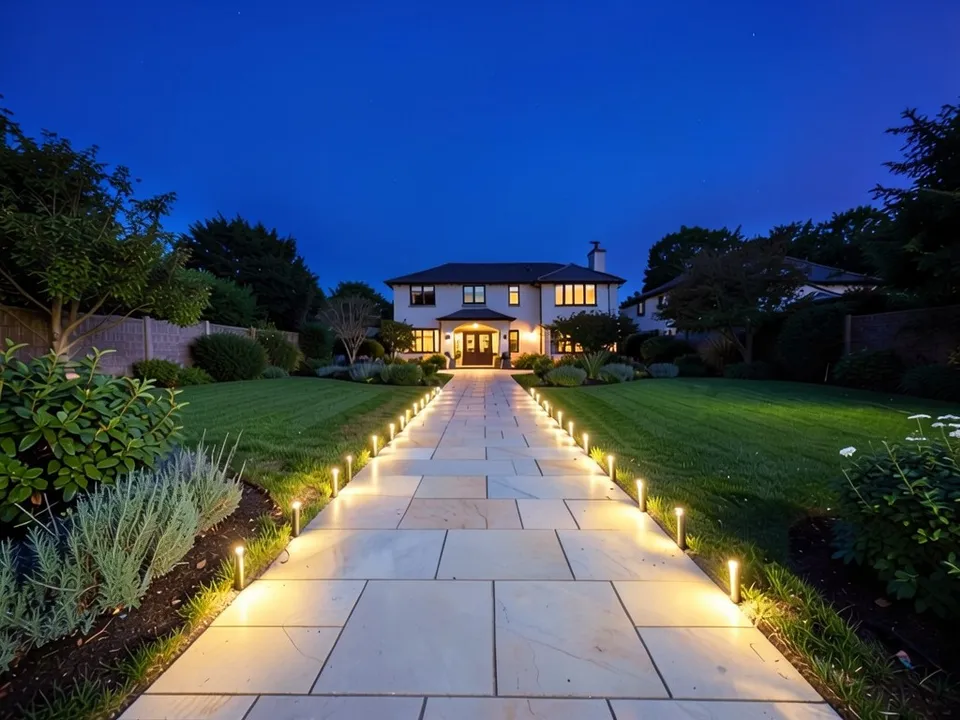
AI-edited version of the same image: the same paved path with a row of small warm-white lights along both edges glowing and casting pools of light on the stones; the path, lawn, shrubs and sky unchanged

After

Lights along a paved path (third instruction below). The before image is an AI-drawn stand-in for a path at dusk, not a customer photo. What followed the instruction: small warm-white path lights now line both edges and glow softly on the stones toward the house, and the path, lawn, shrubs and sky did not change. Spacing and brightness on your real path depend on the lights you buy, so treat this as the look.
AI-generated example: a long garden lawn with tall shade trees at the back and planted borders of shrubs and perennials on both sides

Before

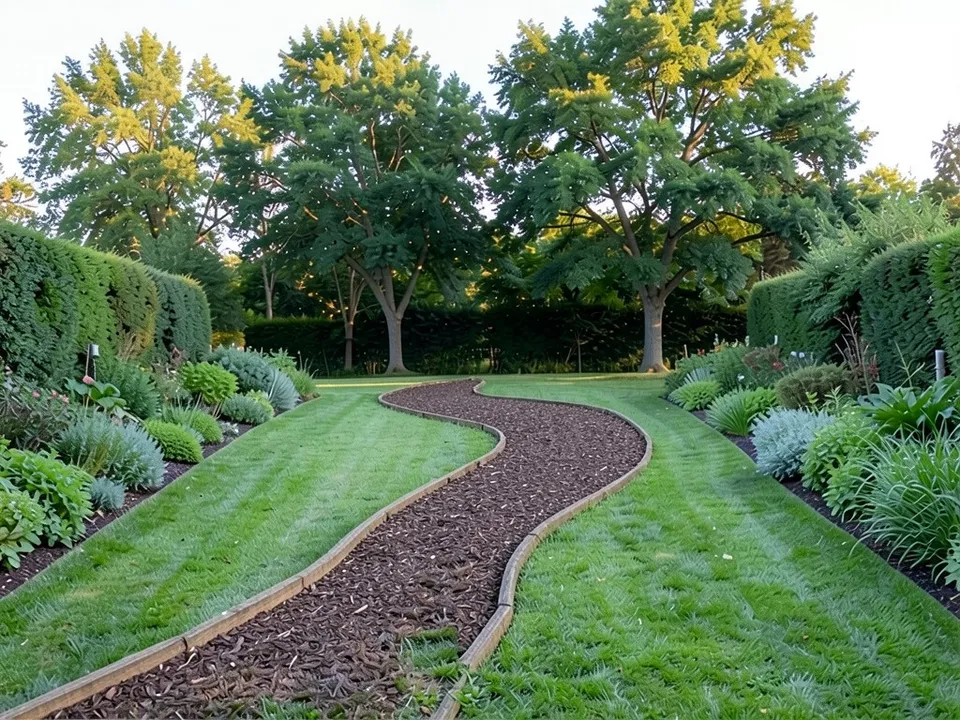
AI-edited version of the same image: a winding path of dark brown wood chip mulch with a neat timber edge on both sides, curving across the middle of the lawn toward the trees; the trees, borders and lawn unchanged

After

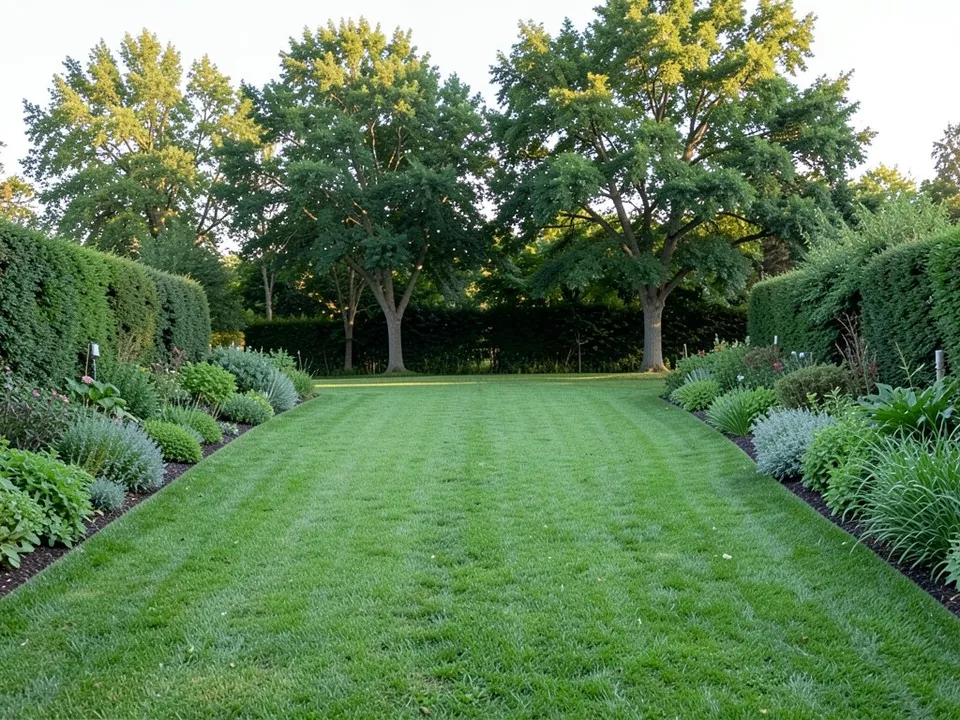
A bark chip path across the lawn (fourth instruction below). The before image is an AI-drawn stand-in for a plain lawn, not a customer photo. What followed the instruction: a dark wood chip path with timber edging now winds across the lawn toward the trees, and the trees, borders and lawn did not change. Mulch paths also need topping up as the chips break down.

Path edging, base and drainage

The part you do not see decides how long a path lasts. These points come up in the guides for gravel, brick and stone paths.

  • Edging: Gravel and mulch paths need an edge to keep the material out of the lawn and the beds. Brick, timber and metal are common choices. Metal bends well around curves and is easy to fit; stone looks the most natural but takes more work.
  • Base: Level the ground and compact the base under bricks, pavers and gravel so the path does not sink or shift.
  • Drainage: A path should shed water to its sides and not hold puddles in the middle, so a slight crown or cross-slope helps.
  • Slopes: Gravel is a poor choice on a steep slope because heavy rain can carry it downhill; steps or paved sections suit slopes better.

How to try a garden path on your own yard photo

Use Custom mode for this. None of the Yard Redesign styles is built to add a path, and Custom lets you name the change and say what must stay the same.

  1. Take a photo in daylight from where the path will start, so you can see where it should lead.
  2. Open the landscape tool and sign in with Google or an email code. You get 1 free render with a free account.
  3. Under Select Landscape Mode, pick Custom.
  4. In the Custom Design Requirements box, say you want to add only the path, name the material, width, edging and where it goes, and list what must stay the same.
  5. Drop your photo into Upload Your Garden Image and press Generate Custom Design.
  6. Check where the path runs and how wide it is, change one thing at a time and run it again.

What the AI can and cannot do

The AI shows a look: roughly how a material, a curve and an edge would sit in your yard. That helps you pick a surface and show a contractor or a helper what you mean.

It does not measure, and it does not know your soil, slope or drainage. It may not follow every detail of the instruction, such as the exact width, curve or spacing, so check the result against your real space. It draws a picture of a result, not a build plan.

Garden path instructions to paste into Custom mode

These are the exact instructions we used for the four examples above, in the same order. In the landscape tool, choose Custom, paste one into the Custom Design Requirements box, then upload your photo. Swap in your own material, width, route and what must stay.

  • Add a gracefully curving gravel path about 4 feet wide with crisp black steel edging that winds from the foreground across the lawn toward the back border, finished and tidy, with lavender planted along both sides. Keep the lawn, shrubs, fence and light the same. Same camera angle.
  • Add a straight herringbone red brick path about 4 feet wide running from the foreground directly to the front door, with low clipped boxwood borders and white flowers along both sides. Keep the house, door, lawn and tree the same. Same camera angle.
  • Add a row of low warm-white garden path lights, about 12 inches tall, evenly spaced along both edges of the stone path, glowing softly and casting pools of warm light on the stones and plants. Keep the path, lawn, shrubs and sky the same. Same camera angle.
  • Add a winding path of dark brown wood chip mulch about 4 feet wide with neat timber edging on both sides, curving across the middle of the plain lawn from the foreground toward the trees at the back, clearly visible. Keep the trees, shrub beds and lawn the same. Same camera angle.

Frequently asked questions

What is the cheapest garden path?

Gravel is one of the cheaper surfaces, mulch or bark chip is low cost too, and a mown grass path costs nothing. Gravel and mulch need edging and regular topping up. Prices vary a lot by area, so check local quotes.

What is the best material for a garden path?

It depends on the style, the budget and the use. Brick is a classic, pavers give more styles, gravel is affordable and informal, and flagstone gives a natural look at a higher cost. For heavy use or wheels, choose a firm, level surface such as pavers or brick on a compacted base.

How wide should a garden path be?

There is no single number: it depends on how the path is used and how big the garden is. Make it wide enough for what will travel it, such as a wheelbarrow, and wider where tall planting spills over the edges. If someone uses a wheelchair, make the main path smooth, level and wide enough for it.

Do I need edging on a garden path?

For gravel and mulch paths, yes. Edging stops the material spreading into the lawn and beds and keeps the lines clean. Brick, timber, metal and stone are all used, and metal is easy to bend around curves.

How do I stop a gravel path washing away?

Edge it, compact the base under it and keep it off steep slopes, because heavy rain can carry gravel downhill. Shaping the path so water runs off to the sides also helps. On a slope, steps or a paved path are a better fit.

How do I make a path through the lawn?

Mark the route with a hose or string, remove the turf, level and compact the ground, then lay your surface, with an edge where needed. Stepping stones are the quickest way to do it and are covered on our stepping stone page.

How do I light a garden path?

Small solar or low voltage path lights along one or both edges are the usual choice. Space them so the pools of light overlap and avoid glare into the windows. Our landscape lighting page has more.

Can the AI show a garden path on my own yard photo?

Yes. Upload a photo in Custom mode and describe the material, width, edging and route, and say what must stay the same. You get 1 free render with a free account. It draws a possible look and may not follow every detail, such as the width or the curve, so check it against your real space before you build.

More ideas for paths, edging and walkways

Besides the yard, you can try a new paint color on the house, a different exterior, or sharpen a photo with the photo enhancer. You can read more about who builds these tools on our about page.

For more, browse all of our landscaping ideas, sorted into front yards, backyards, patios, gardens, pools, styles and regions.